For my final weekly task, I had to create an animated logo/channel indent. My main idea was to create a city street with my logo spray painted on a brick wall. I would then animate the camera to pan across the road, and onto the logo. Starting out, created the spray effect for my logo. To achieve this effect, I used the dissolve blending mode, which means either a pixel has an alpha of 1 or 0, giving the edges a dispersed look. To further achieve the spray paint effect, I used field blur which would determine the strength of the dissolve effect in different areas.
For the scene, I created planes for the pavement, wall and the road. All 3 of these planes were textures using free materials from ambientcg.com in order to save time. These textures come with displacement maps which means the non-colour data from the displacement texture will affect the height of that area of the mesh. To utilise this, blender must be configured correctly. I subdivided the meshes ten times and added a subsurface modifier so that each plane had lots of vertices to work with. For the curb and the base of the wall, I stretched a cube out and gave the edge a bevel, and then UV wrapped them in order to apply a basic concrete texture.
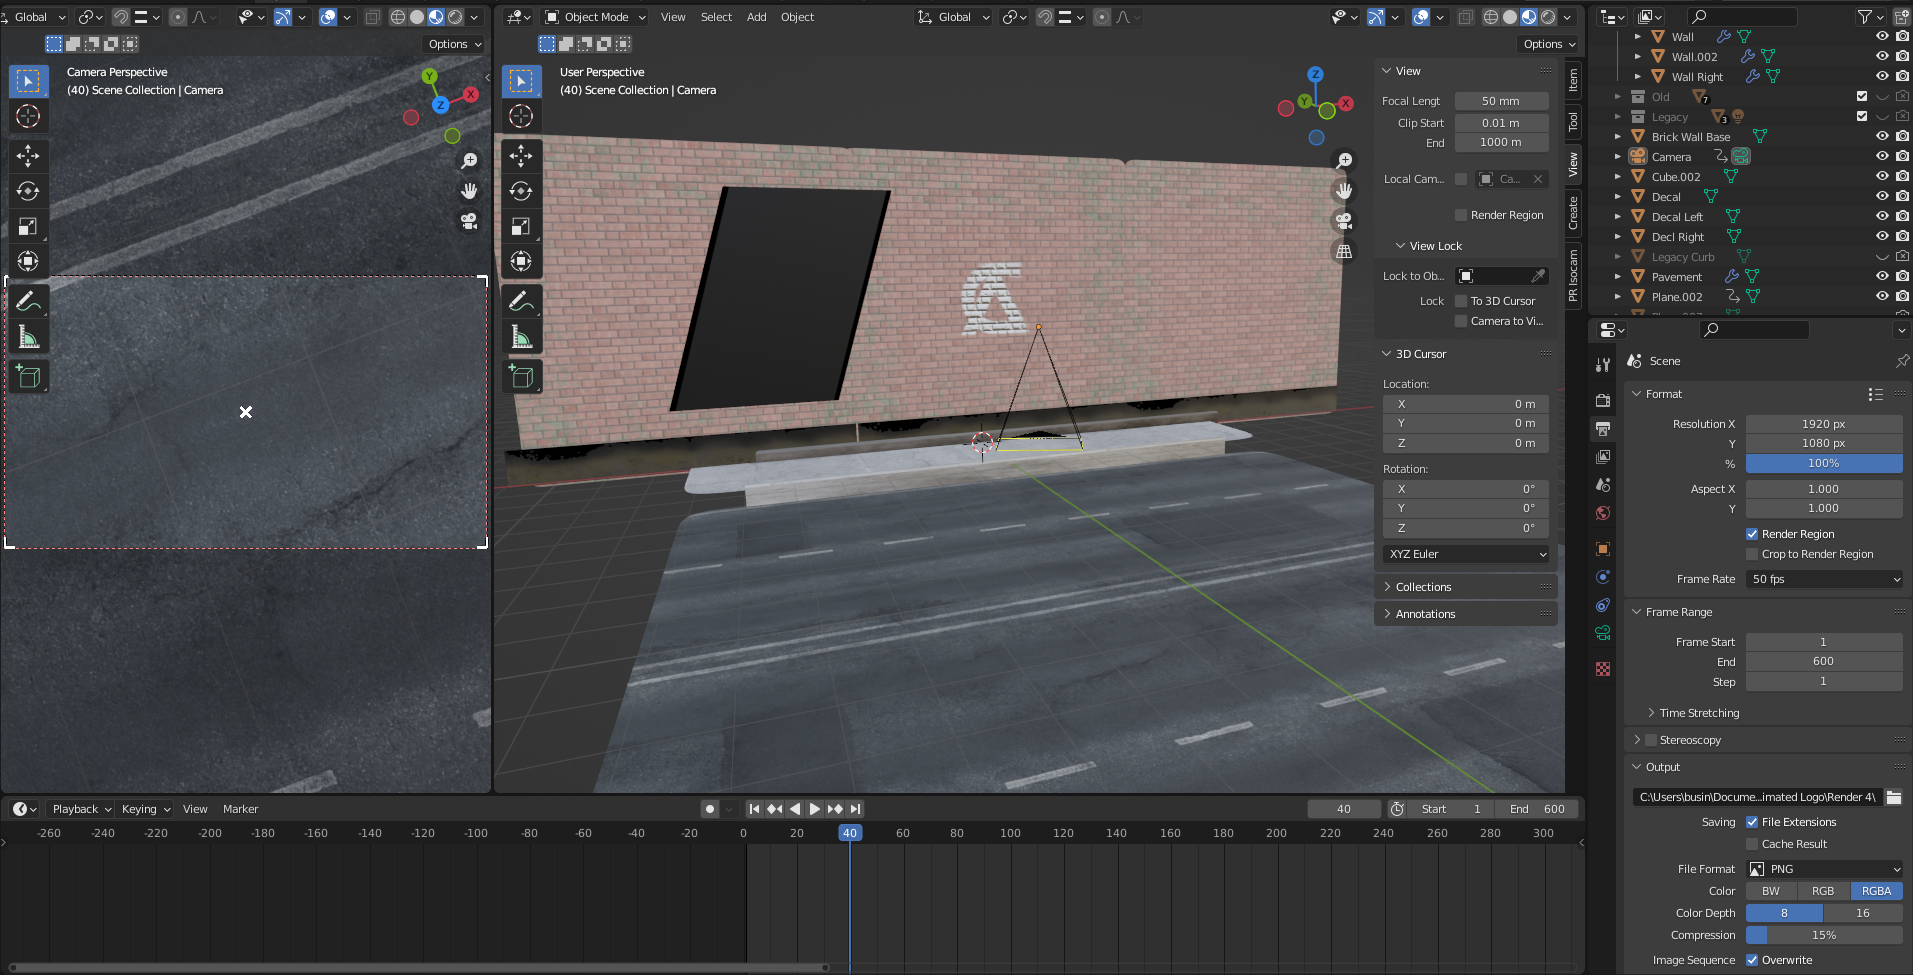
After the basic scene was mapped out, I decided I wanted to weather the brick wall by editing the albedo texture in photoshop. This was achieved using a green splatter brush that would imitate the look of mould or moss. To add the sprayed logo into the scene, imported the image as a plane and linked the texture to the alpha channel so that the edge would be transparent. I then applied the displacement texture of the brick wall to the logo so that it would look like it was sprayed on the surface behind it, and not just flat.
For the camera, I animated the rough keyframes of the position and rotation, and then used a curve in the animation panel to give the camera dynamic speed. When the camera was stationary, I used a noise modifier plugged into the rotation on the X and Y axis with the strength lowered to add a small handheld feel. I also added a plane with the opacity lowered to move across the screen when the camera was stationary to make the animation seem more alive. The feathering on the shadow edge was achieved by adding a white to black gradient on the alpha node.
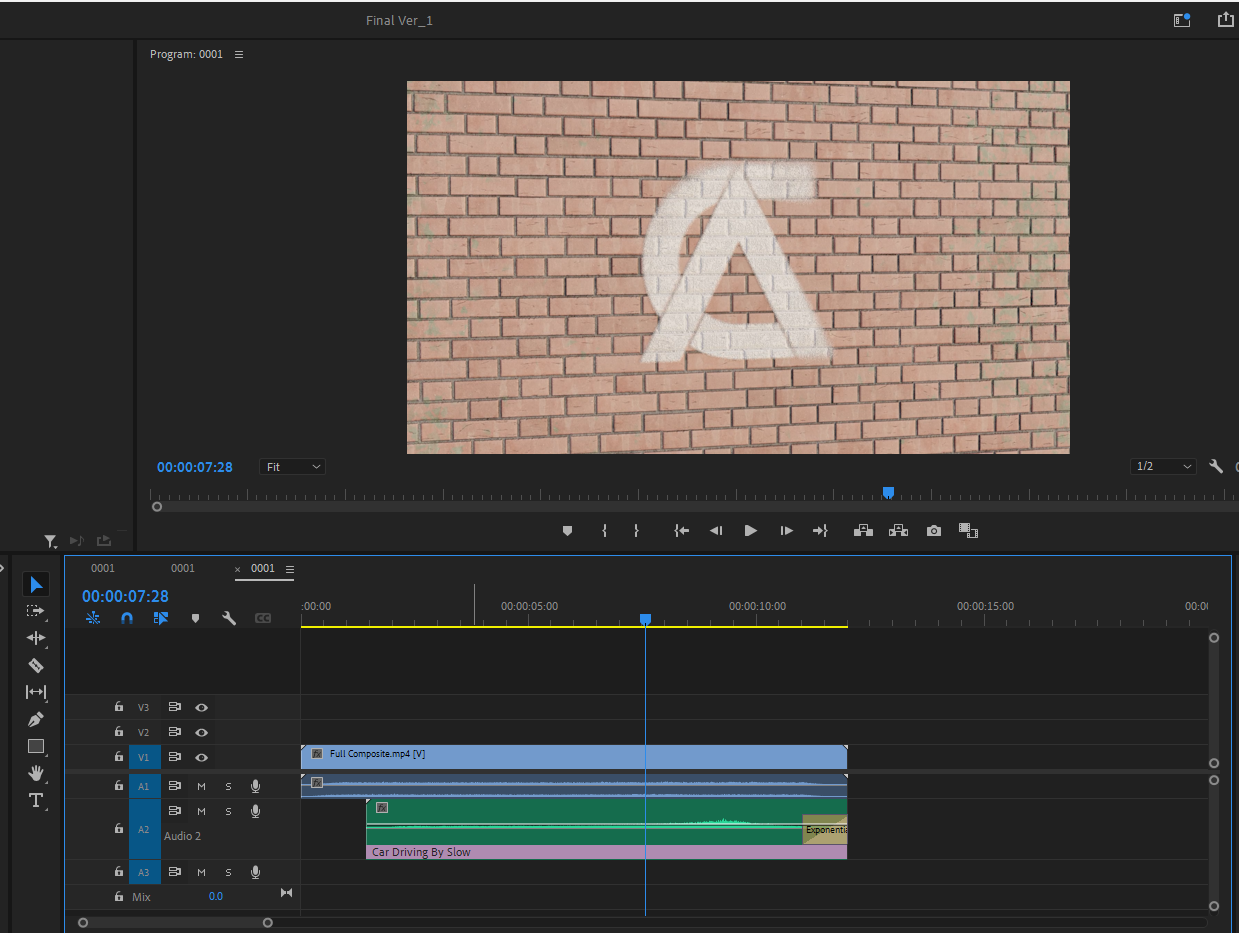
Once rendered, I imported all the images into premiere pro, and set up the sequence to support the custom framerate of the render. I then set each image to one frame and added a dip-from-black transition on each end of the animation. I added city sound effects, and a car driving by to provide a reason for the shadow crossing the screen.